Accessing Jupyter Lab through the NCShare Open OnDemand portal
- Login at ood.ncshare.org
- Click on Interactive Apps in the top navigation menu
-
Click on Jupyter Lab Apptainer
a. Walltime: This is the number of hours to allocate to your job's duration. Input the number of hours you would like the server to remain active (please try to remain small, as it will continue running even if you are not using it)
b. CPUs (Threads) and Memory: Input the desired amount of memory, and CPUs (try to start small with only a few gigabytes of memory and cores)
c. Apptainer Container File: Select the desired Apptainer container file. The default container will be selected otherwise.
d. Press the blue "Launch" button on the bottom of the page
-
After pressing the blue "launch" button, your job will be queued to start a Jupyter Lab server. You should see this automatically
- Wait a few minutes for the Jupyter Lab server to finish launching. The status will automatically change from "Starting" to "Running" when the server is ready
- Press the blue "Connect to Jupyter" button when the server is running to access your Jupyter Lab server
- You should be able to change kernel as normal
Open OnDemand Jupyter Terminal
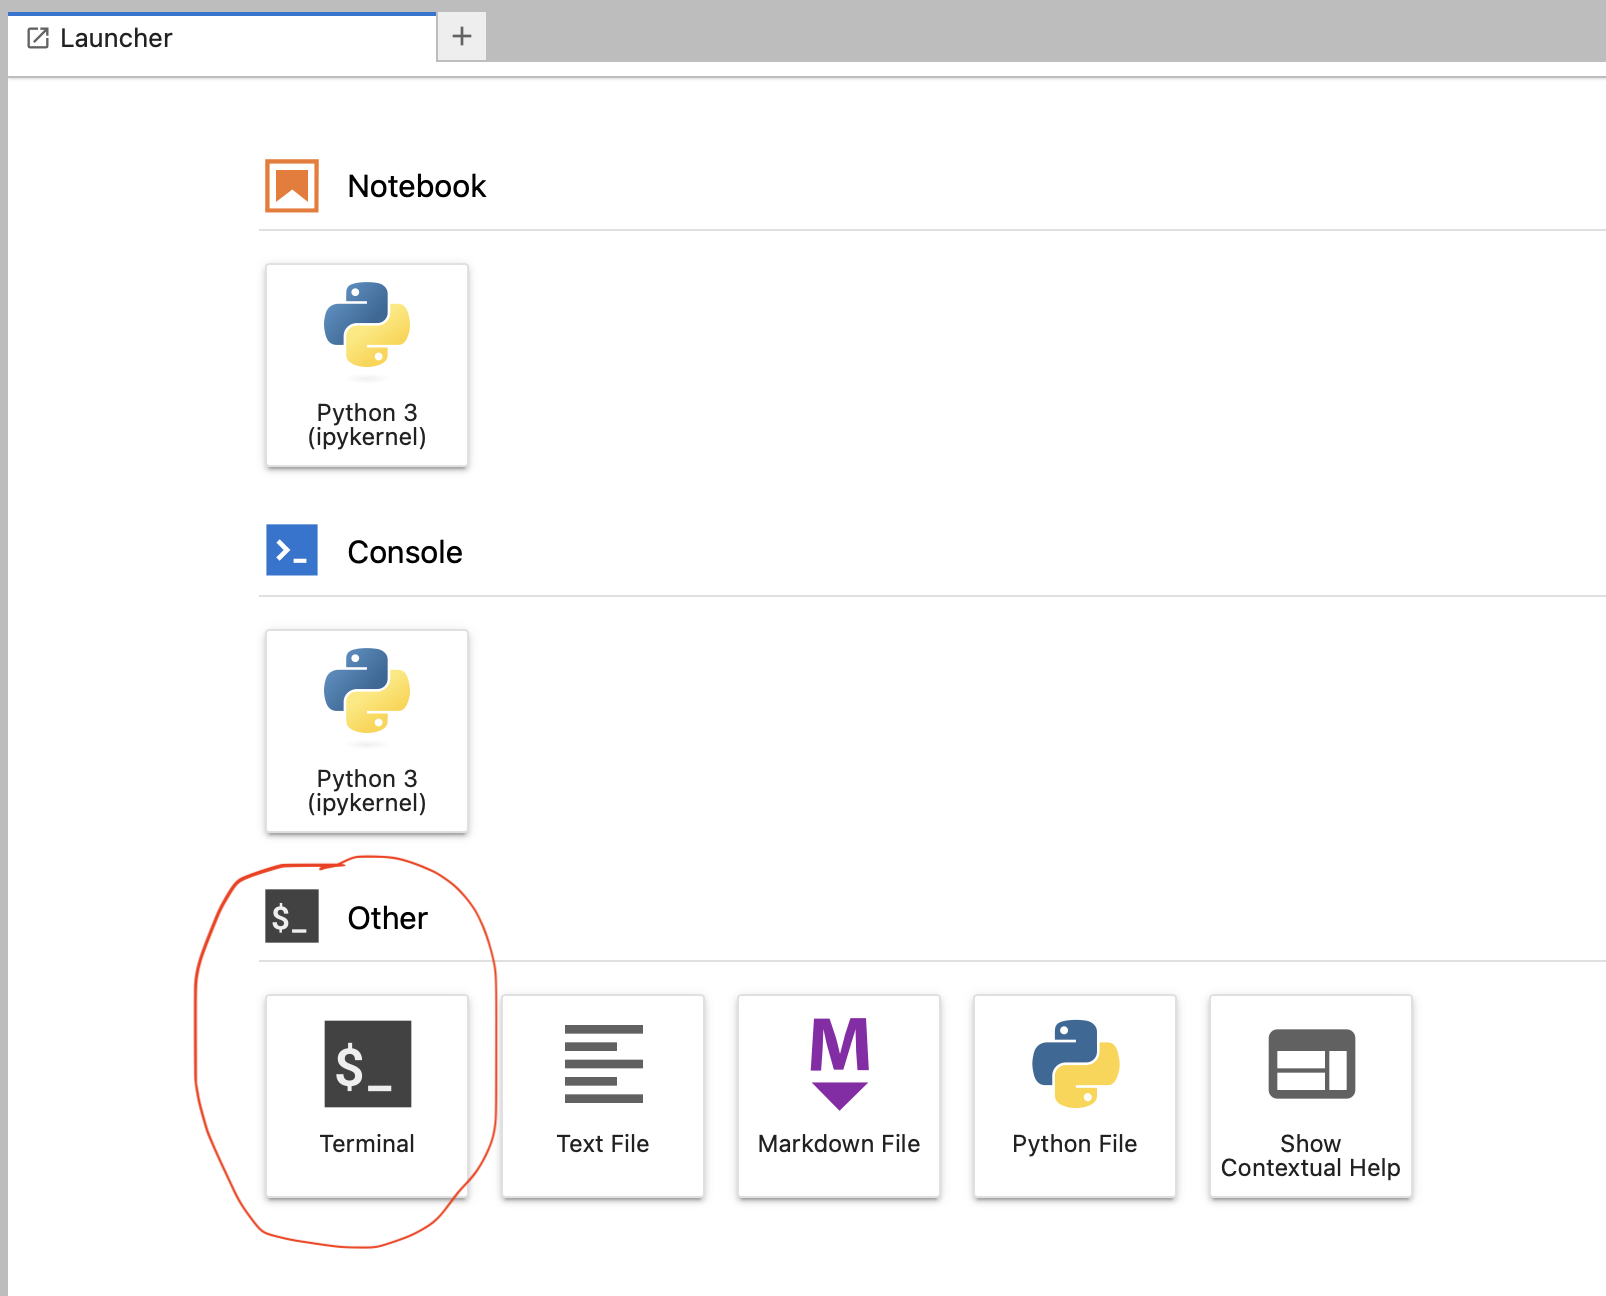
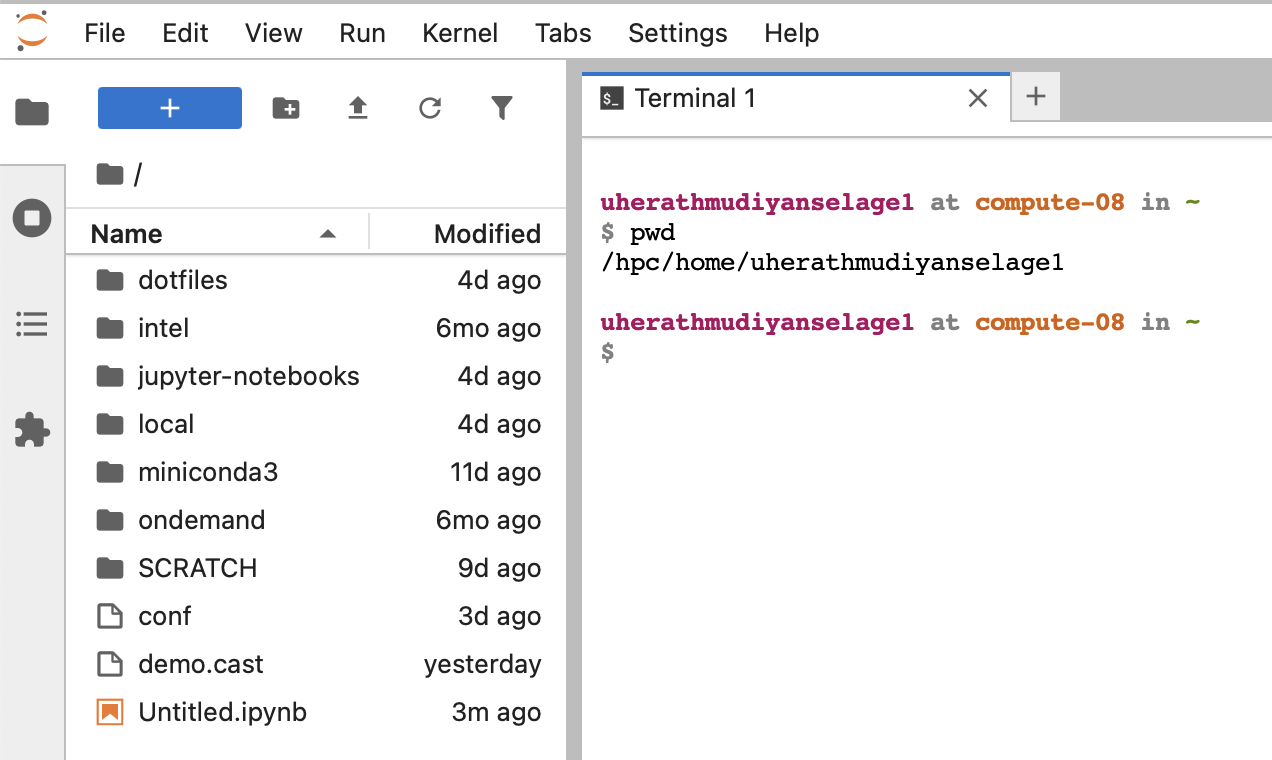
You can access a terminal in your JupyterLab instance by clicking on the "Terminal" icon in the Launcher tab or by navigating to File > New > Terminal from the top menu.
This will open a new terminal window within JupyterLab, allowing you to run command-line operations directly from your Jupyter environment.
Managing Conda Environments on Open OnDemand JupyterLab instances
You can setup conda environments to help tailor the Open OnDemand JupyterLab instances to your specific research. See below for how to setup conda environments and then how to launch a JupyterLab application to utilize those conda environments.
-
Creating a conda environment
Users who will be using Python through SSH and OnDemand should setup virtual environments using miniconda with the desired Python version and packages. After installing Miniconda, create a virtual environment. In the example below,
myenvis the name of the environment andpython=3.9is the python version number.Note: if you did not update your .bashrc file, you will need to load conda first.conda create -n myenv python=3.9 conda activate myenv conda install ipykernel python -m ipykernel install --user --name myenv -
Activating your environment
First, to use your environment, you need to activate your environment:
You will know your environment is activated because it will show up on your command line:conda activate myenv(myenv) kk338@dcc-login-03 ~ $ -
Installing any packages needed in that environment
Then, you can install any packages you need using
condaorpip. If your environment is activated, conda keeps track of which packages are installed where. Some packages will require pip to install - your new conda environment has it’s own pip install.
Transferring data for use with JupyterLab
You can transfer data via the Open OnDemand website. We recommend transferring individual files this way. If you need to transfer larger data sets, please see our section on data transfers utilizig SCP or rsync.
To transfer an individual file using OnDemand:
- Login at ood.ncshare.org
- Click on Files > Home Directory
- Here, you should see your home user directory (/hpc/home/userID). Look for the blue "Upload" and "Download" buttons.
- Selecting either the "Upload" or "Download" button brings up a window where you can select files to either upload or download. Selecting upload will copy files from your local machine to the directory specified by the OnDemand path (e.g., '/hpc/home/userID)'.
- If you need to copy files into another directory, simply click on "Change directory" and enter the directory path.